Wearing a well-ironed blazer or suit can make a significant difference in your appearance, boosting your confidence and leaving a lasting impression. Whether you’re heading to a job interview, a formal event, or a business meeting, knowing how to properly iron a blazer or suit is a crucial skill. Improper ironing can damage the fabric, alter the garment’s structure, and shorten its lifespan. Fortunately, with the right techniques and tools, you can keep your suits looking sharp and tailored.
This comprehensive guide will walk you through everything you need to know about how to iron a blazer and suits safely and effectively.
Why Proper Ironing Matters
Before diving into the how-to, it’s important to understand why you should be cautious with ironing blazers and suits:
-
Fabric sensitivity: Most suits are made from delicate materials like wool, linen, or polyester blends. High heat can burn or shine these fabrics.
-
Structural complexity: Suits have interlinings, shoulder pads, and tailored seams that can become distorted if pressed incorrectly.
-
Aesthetic appeal: Crisp lines and smooth surfaces define a well-maintained suit. Wrinkles can make even a luxury suit look cheap.
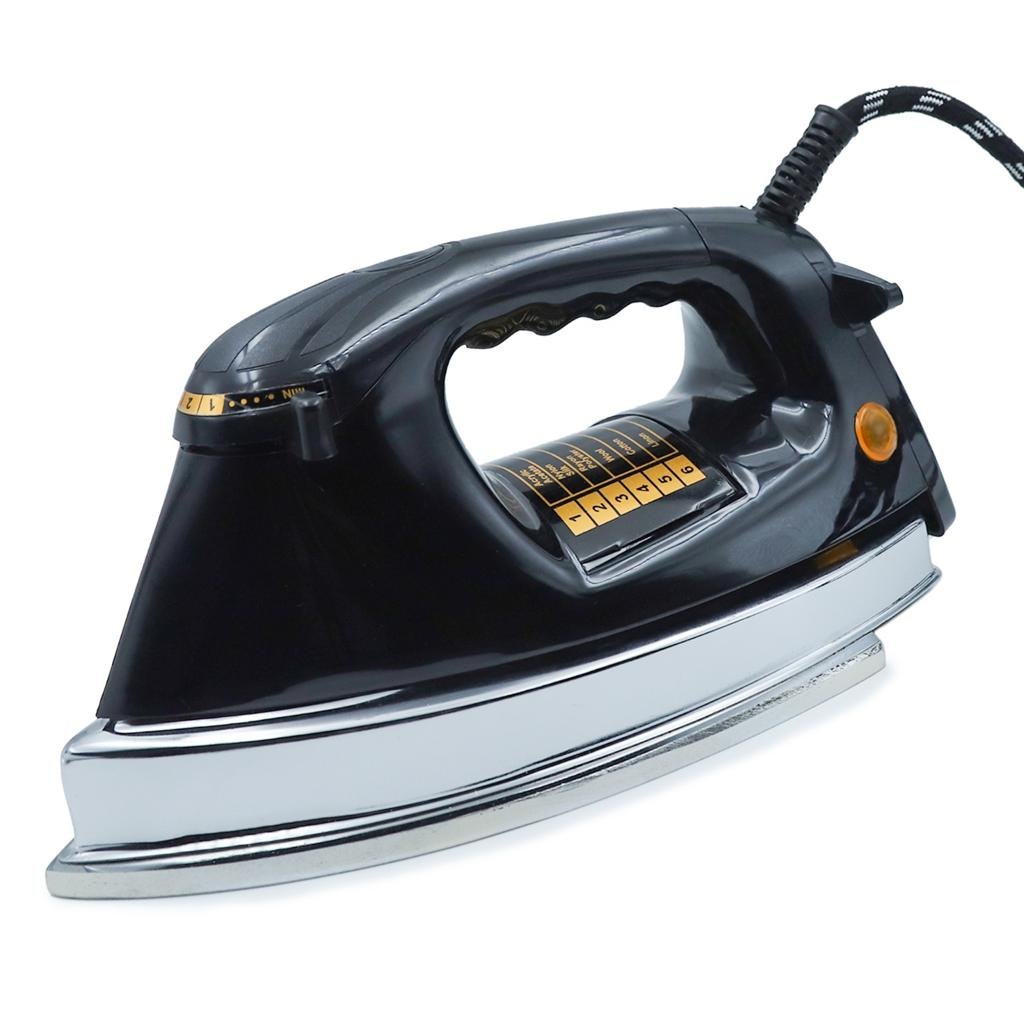
Tools You Will Need
To iron your blazer or suit correctly, gather the following tools:
-
Iron with steam function – Preferably one with adjustable heat settings.
-
Ironing board – A sturdy, padded board offers a flat surface and good support.
-
Pressing cloth – A clean, thin cotton cloth or handkerchief to protect the fabric.
-
Spray bottle – For lightly misting tough wrinkles.
-
Garment steamer (optional) – A gentler option, particularly for delicate fabrics.
-
Sleeve board (optional) – For easier sleeve ironing.
-
Hanger – A wide-shouldered hanger to maintain the suit’s shape post-ironing.
Preparation Steps
1. Read the Care Label
Before ironing, always check the care label. It will tell you:
-
The type of fabric.
-
Whether ironing is safe.
-
The recommended temperature setting.
2. Clean the Suit
Only iron clean garments. Heat can set in stains permanently. If the suit needs dry cleaning, get it cleaned first.
3. Set Up Your Iron and Board
-
Fill the iron with distilled water to prevent mineral build-up.
-
Set the temperature according to the fabric type:
-
Wool: Low to medium heat with steam.
-
Cotton: Medium to high heat.
-
Polyester/Blends: Low heat.
-
Linen: High heat with lots of steam.
-
Step-by-Step Guide to Ironing a Blazer and Suit
Step 1: Start with the Lining (Optional)
If the suit lining is wrinkled:
-
Turn the blazer inside out.
-
Lay the lining flat on the board.
-
Lightly iron using a pressing cloth.
-
Use low heat and steam.
This step is optional but improves the overall finish.
Step 2: Iron the Jacket Back
-
Lay the blazer back flat on the ironing board.
-
Place a pressing cloth between the fabric and the iron.
-
Lightly press (don’t drag) the iron.
-
Focus on the center back seam and shoulder areas.
Avoid pressing too hard, which could crush the padding or leave shiny marks.
Step 3: Press the Jacket Front
-
Lay one front panel flat.
-
Use steam and gentle pressing motions.
-
Work around the lapels carefully—iron under the lapels using a pressing cloth to keep them from warping.
Repeat for the other side.
Step 4: Tackle the Shoulders
Shoulders can be tricky due to their shape. Two methods can help:
-
With a tailor’s ham or rolled towel: Place it under the shoulder to provide a curved surface.
-
Using steam only: Hang the jacket and steam the shoulders instead of direct ironing.
Avoid flattening the shoulder padding.
Step 5: Iron the Sleeves
-
Lay one sleeve flat or use a sleeve board.
-
Align the sleeve seam along the edge of the board to create a natural fold.
-
Iron with a pressing cloth to prevent creases.
-
Flip and repeat on the other side.
If you prefer no crease, use a sleeve board and avoid pressing along the edge.
Step 6: Iron the Lapels and Collar
-
Lay the lapel flat and press gently with the pressing cloth.
-
Flip and iron the collar similarly.
Pay attention to maintaining the natural roll of the lapel—don’t press it flat.
Ironing Suit Pants
Step 1: Prepare the Pants
-
Turn the pants inside out and iron the pockets and waistband.
-
Turn them back and lay them flat with creases aligned.
Step 2: Create a Crease (Optional)
To create a sharp crease:
-
Fold each leg carefully.
-
Line up the seams and fold precisely.
-
Press along the front from mid-thigh to ankle with a pressing cloth.
For a more casual look, skip the crease and just remove wrinkles.
Step 3: Iron the Waistband and Legs
-
Start at the waistband.
-
Iron downward to the cuffs using steam.
-
Flip and repeat on the other side.
Common Mistakes to Avoid
-
Using too much heat – This can burn or shine the fabric.
-
Ironing directly without a pressing cloth – Causes unwanted marks and damage.
-
Pressing too hard – Especially over seams or padding.
-
Dragging the iron – Always lift and press.
-
Ironing over buttons or stitching – May warp the design or cause damage.
Using a Steamer Instead of an Iron
A garment steamer is often safer for delicate or structured clothing.
Advantages:
-
Gentle on fabrics.
-
Preserves shape and padding.
-
No need for an ironing board.
How to Steam a Suit:
-
Hang the suit on a sturdy hanger.
-
Hold the steamer 1–2 inches from the fabric.
-
Move downward slowly, letting the steam relax wrinkles.
-
Smooth the fabric with your hand (optional, wear a glove).
-
Let the garment hang for 10–15 minutes to dry and reshape.
Aftercare and Storage Tips
-
Hang Immediately: After ironing or steaming, hang the blazer/suit on a broad-shouldered hanger to retain its shape.
-
Use a Garment Bag: Protect it from dust and moths.
-
Avoid Crowded Closets: Give your suit space to prevent wrinkling.
-
Don’t Overwash or Overpress: Iron only when necessary to prolong the fabric’s life.
FAQ: How to Iron a Blazer and Suit
Q1: Can I use a regular iron on a wool blazer?
Yes, but use low to medium heat, always with steam and a pressing cloth.
Q2: Is it okay to iron suit sleeves with creases?
Traditionally, sleeves are not creased. Use a sleeve board or careful folding to avoid lines.
Q3: What’s the difference between steaming and ironing?
Ironing presses out wrinkles using direct heat, while steaming relaxes them with moisture and is safer for delicate fabrics.
Q4: How often should I iron a suit?
Only when needed. Frequent ironing can wear down fabric and structure. Steaming is a better frequent-maintenance option.
Q5: How do I get rid of a shiny spot on my suit caused by ironing?
Place a damp pressing cloth over the area and gently steam it. This may lift the shine. In severe cases, consult a professional cleaner.
Conclusion
Learning how to iron a blazer and suit properly ensures that your formalwear always looks its best. With careful technique, the right equipment, and a little patience, you can extend the life of your suit and maintain a polished, professional appearance.
Whenever in doubt, remember: steam over press, low heat over high, and always use a pressing cloth. If your suit is particularly valuable or you’re unsure about the fabric, consider taking it to a professional cleaner or tailor for pressing.
A well-ironed suit isn’t just clothing—it’s a statement. Make yours count.


Leave a Reply