Building a solid foundation starts long before the first steel shaft enters the ground. For homeowners, builders, and property developers looking to invest in a stable and long-lasting base, understanding the full project timeline of a helical pile installation is key. Whether you’re researching on your own or searching for helical pile installers near me, knowing what each phase entails can help you prepare for a smooth and successful build.
Here’s what a complete helical pile installation timeline typically looks like—from the initial assessment to the final torque confirmation.
Step 1: Site Evaluation and Soil Testing
Every helical pile installation begins with a thorough assessment of the site. This includes soil testing to determine the type, depth, and condition of the soil layers. Soil composition plays a critical role in deciding how deep the piles need to go and what type of helical shaft and helix configuration is appropriate.
Engineers or geotechnical specialists often take soil samples and use that data to design the optimal foundation system. The goal here is to identify load-bearing strata, as helical piles need to be anchored into stable soil or bedrock to perform properly.
Step 2: Engineering and Load Calculations
Once the soil test results are in, engineers will calculate the loads the structure will place on the foundation. These calculations determine the number of piles needed, their size, the spacing between them, and the target torque—an indicator of how much resistance the soil provides.
At this stage, it’s essential to work with experienced professionals who understand the local soil conditions. A quick search for “helical pile installers near me” will yield plenty of results, but not all providers offer tailored engineering services based on your specific site.
Step 3: Mobilization and Equipment Setup
With the design finalized, the team schedules the installation. Helical piles are typically installed using hydraulic machinery, and depending on the site size and accessibility, different equipment may be used. One of the many advantages of helical piles is their minimal disruption to the surrounding area—no excavation or curing time required.
Mobilization includes getting equipment on-site, unloading materials, and preparing the work area to ensure a safe and efficient process.
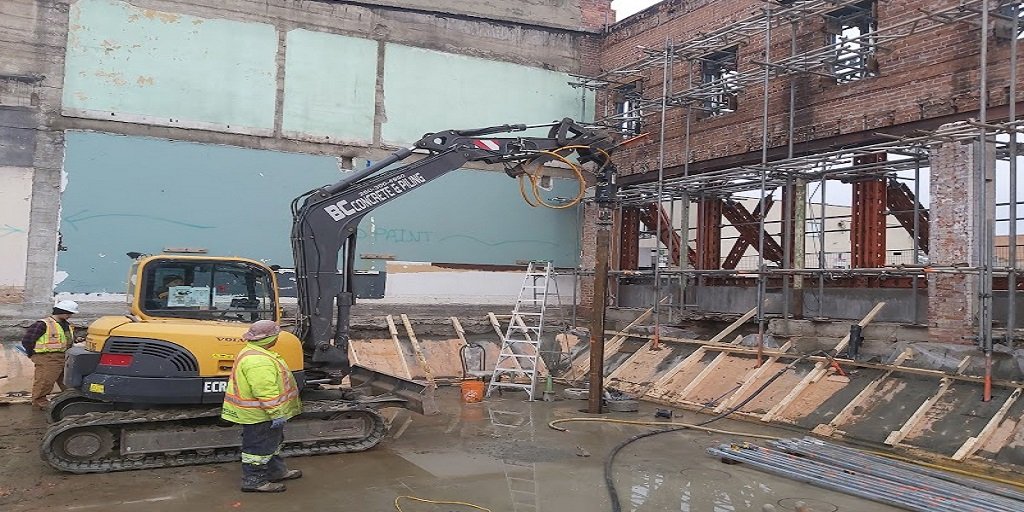
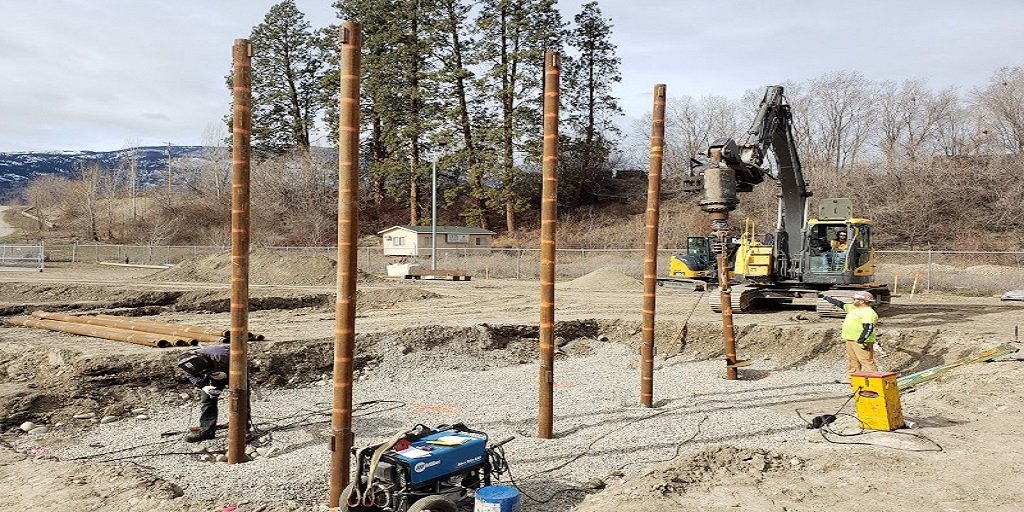
Step 4: Installation and Torque Monitoring
This is where the physical work begins. Piles are screwed into the ground using hydraulic torque motors, and real-time torque monitoring ensures that each pile reaches the predetermined load-bearing capacity.
As each pile is installed, operators carefully measure the torque resistance. Hitting the target torque means the pile has reached suitable depth and stability. If the proper torque isn’t reached, the pile is extended further with additional shafts until it is. This process ensures long-term performance and minimizes risk of settlement or failure.
The speed of installation is another bonus—depending on the size of the project, installation can often be completed in a matter of days.
Step 5: Cap Installation and Structural Connection
Once all piles are installed and verified, the tops of the piles are fitted with caps or brackets, which connect them to the structure above—be it a home, deck, modular building, or industrial platform.
These connections are crucial in transferring structural loads from the building to the ground through the pile system.
If you’re searching for helical pile installers near me, look for professionals who offer end-to-end service—from geotechnical assessments and custom engineering to precision installation and thorough documentation. A well-executed helical pile project doesn’t just support your structure—it gives you peace of mind for years to come.
For more information about Drilling Company Bc and Commercial Drilling Service Please visit: ATLAS PILING.


Leave a Reply